
Planting
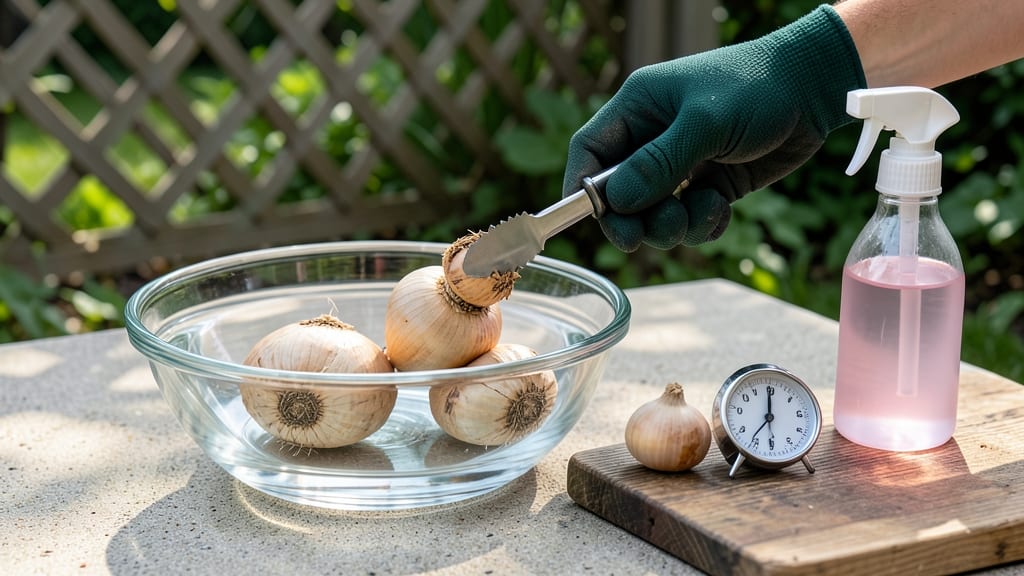
Soaking gladiolus bulbs before planting can encourage stronger stems and faster growth, but the method demands precision to avoid rot or weakened blooms.
Picture this: you’ve spent weeks waiting for your 🌸 gladiolus to bloom, only to watch them flop over like overcooked pasta. That’s the risk when soaking goes wrong—too long, and you’re left with mushy bulbs instead of showstopping spikes.
But done right, a quick pre-soak can jumpstart root development and give you that sturdy, showy display you’re after.
Most gardeners swear by 1–2 hours in room-temperature water, but timing and water quality matter just as much as the soak itself. Skip it entirely if your bulbs are fresh from storage or your soil drains poorly—sometimes, the simplest approach wins.
Below, I’ll walk you through the exact steps to soak your gladiolus bulbs safely, plus the telltale signs you’ve overdone it. By the end, you’ll know whether this pre-planting ritual is a game-changer for your garden—or a gamble not worth taking.
The science behind soaking gladiolus bulbs before planting: benefits and risks
When I first started growing gladiolus bulbs, I assumed soaking them would speed up growth—like how I pre-sprout tomato seeds. But after a few failed attempts with mushy bulbs, I realized this isn't a one-size-fits-all solution.
The truth lies in the biology of gladiolus bulbs, which respond differently than other plants to water exposure. These bulbs store energy in their corm structure, not just outer layers, making them uniquely sensitive to hydration methods.
Soaking gladiolus bulbs triggers two key biological processes: hydration of the corm and root initiation. When submerged in water, the corm absorbs moisture through its papery outer layers, jumpstarting metabolic activity.
This can lead to faster root emergence within 24–48 hours of planting, giving your glads a head start in the garden. However, this hydration comes with risks—particularly for bulbs that have been stored improperly or are already compromised.
One of the most critical benefits of pre-soaking is disease prevention. Gladiolus bulbs are notorious for carrying Thrips and Fusarium infections. A 1–2 hour soak in lukewarm water can help flush out pests hiding in the corm's crevices.
I've found that adding a 1% hydrogen peroxide solution (1 part 3% peroxide to 29 parts water) during soaking can further reduce fungal spores without harming the bulb.
But here's where things get tricky: over-soaking gladiolus bulbs can lead to rot. Unlike onions or shallots, gladiolus corms don't have protective layers that prevent water absorption. When soaked for more than 2–3 hours, the corm's center can become waterlogged, creating the perfect environment for bacterial soft rot.
This is why many professional growers recommend against soaking at all unless you're dealing with dormant bulbs or extremely dry conditions.
The ideal soaking duration depends on your bulbs' condition. Fresh, firm gladiolus corms from reputable suppliers often don't need soaking—their natural moisture levels are perfect for immediate planting.
But if you've stored your bulbs in a dry environment or they feel lightweight when handled, a 1-hour soak can help revive them. The key is monitoring the corm's texture—it should feel plump but not soggy after soaking.
The water temperature during soaking plays a surprisingly large role in success. Cold water (below 60°F) can shock the corm and slow metabolic activity, while water above 85°F may encourage bacterial growth.
I've had the most consistent results with lukewarm water (70–75°F), which mimics spring soil temperatures and promotes gentle hydration. You can achieve this by soaking bulbs in water that's been sitting in a sunny window for 30 minutes.
Another factor to consider is your local climate. In arid regions like the Southwest U.S., a brief soak can help gladiolus bulbs establish roots before facing dry soil conditions. But in humid climates such as the Southeast, where fungal diseases thrive, soaking increases infection risks.
I once planted a batch of soaked bulbs in my Florida garden and lost 30% to Fusarium—a lesson I won't repeat! Always weigh your climate against the potential benefits.
If you decide to soak your gladiolus bulbs, timing is everything. Plant them within 24 hours of soaking to prevent moisture loss and potential rot. I like to soak bulbs in the late afternoon, then plant them first thing the next morning.
This gives roots just enough time to initiate while minimizing exposure to evening humidity. For large batches, divide them into small groups and soak sequentially to maintain freshness.
Remember, the goal of soaking gladiolus bulbs isn't just about speed—it's about setting your plants up for success. When done correctly, it can mean the difference between sturdy, disease-resistant stems and floppy, struggling plants. But when misapplied, it becomes a recipe for disappointment. Now that you
Step-by-step guide: how to pre-soak gladiolus bulbs correctly (with timing tips)
Soaking gladiolus bulbs before planting can jumpstart growth, but timing and technique matter. A 1–2 hour soak in lukewarm water hydrates the bulb without overdoing it—critical for avoiding rot or mold.
I’ve learned this the hard way after watching bulbs turn mushy when soaked too long. The key is balance: enough hydration to encourage roots, but not so much that the bulb drowns.
Start by selecting firm, plump bulbs with no soft spots or mold. These are your best candidates for soaking. If your bulbs feel dry or papery, a short soak can help, but never soak bulbs with cuts or bruises—they’re already compromised.
Think of it like giving your gladiolus a quick drink before planting, not a bath.
How to Pre-Soak Gladiolus Bulbs
- 1 Prepare the water: Use lukewarm water (around 70°F) in a clean container. Avoid cold water, which can shock the bulb.
- 2 Soak for 1–2 hours: Place bulbs in water with the pointy end up. A maximum of 2 hours is ideal—any longer risks rot.
- 3 Check for readiness: Gently squeeze a bulb—it should feel firm but slightly heavier. If it’s soggy, reduce soaking time next time.
- 4 Drain and plant immediately: Remove bulbs from water and let them air-dry for 10 minutes before planting. This prevents waterlogging in the soil.
- 5 Plant within 24 hours: Soaked bulbs should go into well-draining soil right away. Delaying risks dehydration or fungal issues.
After soaking, I always plant bulbs 6 inches deep in soil that’s been amended with compost. The extra moisture from soaking helps kickstart root growth, but the soil must drain well to prevent the bulbs from sitting in soggy conditions.
If your soil is heavy clay, consider planting in raised beds or containers for better drainage.
One mistake I’ve seen gardeners make is reusing soaking water for multiple batches. Change the water for each new soak to avoid bacterial buildup. Also, avoid adding fertilizers or fungicides to the soaking water—this can irritate the bulb’s delicate skin. Keep it simple: clean water, short soak, and prompt planting.
For dry climates, a quick soak can make a noticeable difference in early growth. In humid regions, however, I often skip soaking entirely and rely on consistent watering after planting. Always adjust based on your local conditions—what works in my backyard might not suit yours.