
Planting
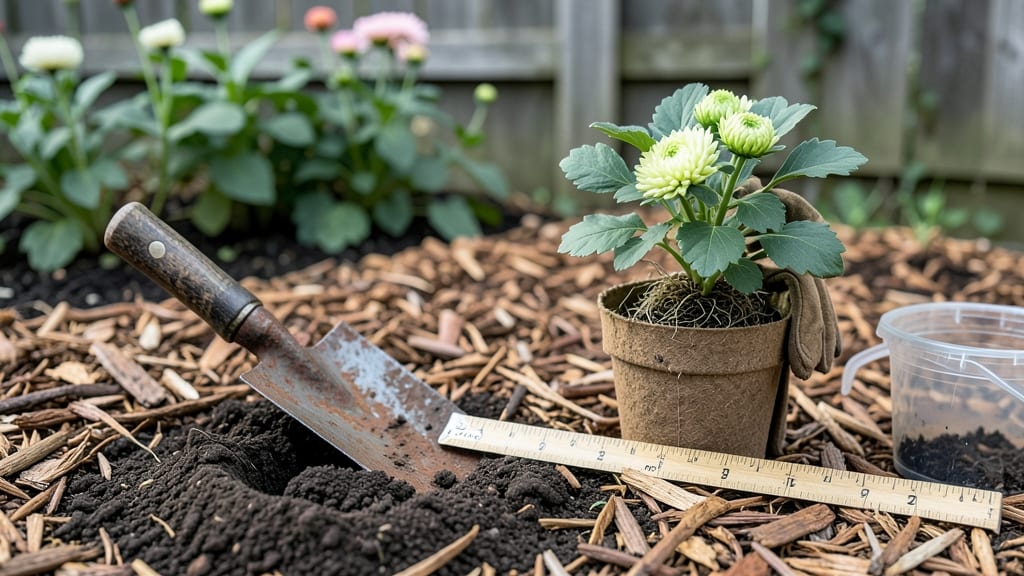
How deep to plant mums is the key to unlocking those bold fall blooms you’ve been dreaming of.
Struggling to get your mums to bloom as long and vibrantly as you’d hoped? The secret might be hiding in the soil—specifically, how deep you plant them. Get this right, and you’ll enjoy nonstop color from early fall through winter.
Too shallow, and your 🌼 chrysanthemums will flop over, their roots exposed to drying winds. Too deep, and they’ll suffocate, struggling to push through the soil to reach the sunlight they crave.
The perfect planting depth isn’t just about inches—it’s about understanding your soil, your climate, and even the type of mum you’re growing.
In this guide, I’ll break down the exact planting depth for bare-root and potted mums, share the 3 most common mistakes that stunt blooms, and give you pro tips to keep your mums thriving all season long.

The perfect mum planting depth by root type (with exact inch measurements)
Planting mums at the wrong depth can stunt their growth or even kill them before they bloom. Whether you're working with bare-root or potted mums, the depth matters more than you might think.
Too shallow, and roots dry out; too deep, and stems rot. Let’s get this right so your mums thrive from late summer to frost.
Mums are hardy perennials that reward precise planting. The key is matching the planting depth to the root structure—whether it’s a compact root ball or exposed roots. For bare-root mums, the rule is simple: plant the crown 1 inch below soil.
For potted mums, dig a hole just deep enough to fit the root ball snugly, with the top 1-2 inches exposed.
Soil type also plays a role. In heavy clay soil, plant slightly deeper (up to 2 inches below crown) to prevent waterlogging. In sandy soil, keep it shallower (just 1 inch below crown) to avoid drying out. Always loosen the soil around the roots to encourage water absorption.
Why depth matters: Mums need stable roots to support their heavy blooms. Planting too deep can suffocate the crown, while planting too shallow leaves roots exposed, leading to poor nutrient uptake and weak stems. Follow these exact measurements for foolproof results.
⚠️ Pro Tip: If your mums come in containers, gently squeeze the sides to check for root circling. If roots are tightly bound, trim them before planting to encourage outward growth.
After planting, water deeply to settle the soil and eliminate air pockets. Use a watering can or hose to moisten the soil to a depth of 6 inches.
This helps roots establish quickly, especially in hot summer conditions. Mulch around the base with 2-3 inches of straw to retain moisture and regulate soil temperature.
For container-grown mums, ensure the pot has drainage holes and use a well-draining potting mix. If repotting, choose a container 2-3 inches larger than the current root ball. Overly large pots can lead to waterlogging, which mums detest.
Monitor your mums for the first 2-3 weeks after planting. Yellowing leaves or wilting can signal overwatering or poor drainage. Adjust your watering schedule based on soil moisture—stick your finger 1 inch into the soil. If it’s dry, water; if it’s damp, wait.
With the right planting depth and soil prep, your mums will reward you with bold blooms from September through frost. Pro tip: Deadhead spent blooms regularly to encourage new flower production and extend the season.
🌼
5 Common mistakes that kill mum blooms (and how to fix them)
Even the hardiest chrysanthemums can struggle if planted incorrectly. I’ve seen beautiful mums wilt within weeks because of simple planting mistakes—like burying them too deep or crowding their roots. The good news?
These issues are easy to fix with the right approach. Let’s tackle the top 5 mistakes that rob your mums of their vibrant fall color and how to reverse them.
First, let’s address the planting depth dilemma. Many gardeners bury mums too deep, thinking they’ll get more stability. But when roots suffocate, blooms suffer. The fix? Plant them at the correct soil line—no deeper than the top of the root ball.
This ensures proper airflow and drainage, which mums desperately need to thrive.
⚠️ WARNING: Planting Too Deep or Shallow ⚠️
✅ Fix: Dig a hole twice as wide as the root ball but only as deep as the container’s drainage holes. The top of the root ball should sit just above soil level.
❌ Avoid: Burying stems or pressing soil too firmly around the base—this smothers roots.
💡 Pro Tip: Use a spade to loosen soil around the edges after planting to encourage root spread.
Another silent bloom-killer is poor drainage. Mums hate soggy feet—waterlogged roots lead to fungal diseases like powdery mildew, which turns leaves gray and kills blooms. If your soil stays wet for more than a day after watering, it’s time to act.
Amend the area with compost or perlite to improve drainage, or consider planting mums in raised beds for better control.
Crowding is the third villain. Too many mums competing for nutrients and sunlight results in small, sparse blooms. Space them 12–24 inches apart, depending on the variety. Dwarf mums need 12 inches of space, while standard types thrive with 24 inches.
Thin out overcrowded areas by removing the smallest plants—this gives remaining mums room to flourish and rebloom.
Over-fertilizing might seem counterintuitive, but it’s a common mistake. Too much nitrogen-rich fertilizer encourages leafy growth at the expense of flowers. Instead, use a balanced 10-10-10 fertilizer in early fall to promote blooms.
Apply it 1 tablespoon per plant, water thoroughly, and avoid fertilizing after mid-September to let mums harden off for winter.
Finally, neglecting deadheading shortens the bloom season. Snip off spent blooms regularly to encourage new flowers. Use clean, sharp pruning shears and cut just above a set of leaves or bud. This simple step extends your mum’s display by weeks—sometimes even into early winter if frosts are delayed.
With these fixes, your mums will reward you with bold, long-lasting blooms all season. Start with the right planting depth, improve drainage, space them properly, fertilize wisely, and deadhead religiously. Your garden will thank you with a showstopping fall display! 🌼