
Planting
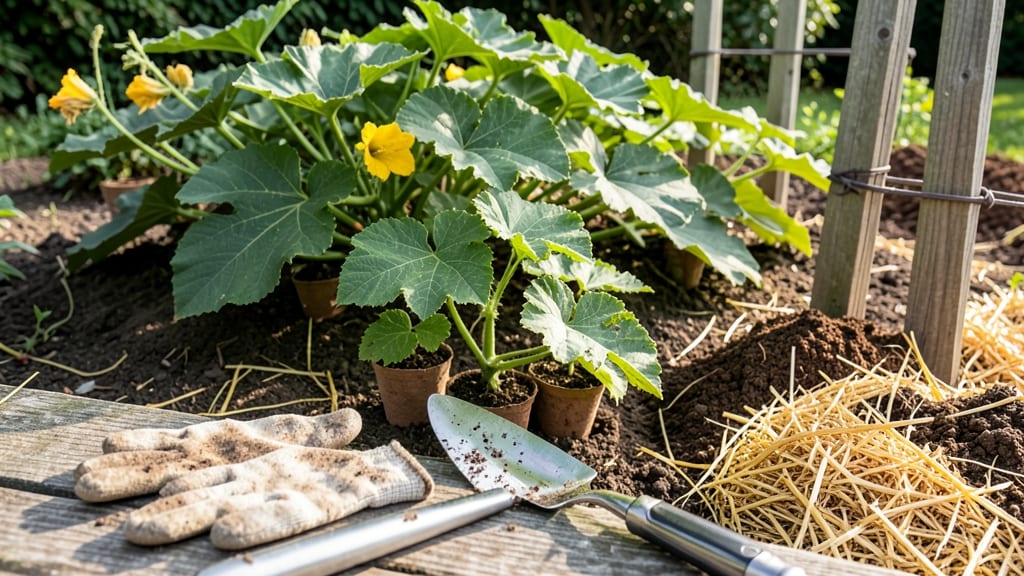
Planting butternut squash the right way means doubling your harvest potential—this is how I went from 10 pounds to 50 pounds in the same patch. 🌱 The secret isn't just about seeds and soil; it's about timing, spacing, and giving those vines the room they crave to spread like a golden carpet across your garden.
Start with well-draining soil mixed with compost (no need for fancy amendments—just 2-3 inches of compost worked in will do). Plant seeds 1 inch deep in hills spaced 4-6 feet apart, with 3-4 seeds per hill for better germination odds.
Butternut squash loves warmth—wait until soil temperatures hit 60°F (usually 2-3 weeks after your last frost). By mid-summer, you'll watch those vines stretch toward the sun, producing 3-5 squash per plant when everything's just right.
The key is patience: harvest when the rind turns hard and the stem shrinks where it attaches to the fruit—80-100 days after planting, depending on your variety. Avoid overcrowding (it invites disease) and never plant where winter squash grew last year.
With these steps, you'll be feasting on homegrown butternut squash that tastes nothing like store-bought—sweet, nutty, and impossibly tender.
📚 In This Guide
- What you need
- Instructions
- Tips and common mistakes
- Wrapping up and next steps
What you need
- ● Butternut squash seeds: 3–5 seeds per plant (or 1–2 seeds per hill if planting in groups). Choose heirloom or hybrid varieties based on your preference.
- ● Well-draining potting mix or garden soil: Rich in organic matter (compost or aged manure). Aim for at least 12–18 inches of loose, fertile soil.
- ● Compost or balanced fertilizer: 5-10-10 or 10-10-10 NPK ratio (follow package instructions for application rates).
- ● Watering can or hose with a gentle spray nozzle: For consistent moisture without disturbing seedlings.
- ○ Garden twine or stakes (optional but helpful): To support vines if your squash grows large or sprawls.
- ● Mulch (straw or shredded leaves): 2–3 inches thick to retain moisture and suppress weeds.
- ● Row covers or frost cloth: To protect young plants from late frosts.
- ● Seedling heat mat: If starting indoors in cooler climates (70–90°F is ideal for germination).
- ● Organic pest deterrents: Neem oil, diatomaceous earth, or row covers to keep pests like squash bugs at bay.
- ● Soil thermometer: To ensure soil temps are at least 60°F before planting (butternut squash loves warmth!).
- ● Garden journal: To track planting dates, watering schedules, and growth progress.
Step-by-step guide to planting butternut squash for maximum yield
Here’s the foolproof method I’ve used for years to grow sweet, disease-resistant butternut squash—no guesswork, just reliable results.
🌱 Step 1: Choose the Perfect Planting Site and Warm Up the Soil
Butternut squash thrives in full sun (at least 8 hours daily) and warm soil. Test your soil temperature with a thermometer—it should reach 65°F or higher before planting. If your ground is still cool, cover it with black plastic for 1-2 weeks to accelerate warming.
Pick a spot with well-draining soil and space at least 3 feet apart (squash vines spread aggressively). Avoid low areas where water pools—root rot is the #1 killer. I always rotate my planting location yearly to prevent soil-borne diseases from building up.
☀️ Step 2: Start Seeds Indoors or Direct-Sow After Frost
For a head start, sow seeds indoors 4-6 weeks before last frost in biodegradable pots filled with seed-starting mix. Plant 1-2 seeds per pot at 1 inch deep, keeping soil consistently moist (not soggy). Seedlings emerge in 7-14 days at 75-85°F.
If direct-sowing, wait until soil is 65°F+ and all frost risk has passed. Plant 2-3 seeds per hill, spacing hills 4-5 feet apart. Press seeds gently into soil—don’t bury too deep, or germination slows. Water lightly after planting to settle soil around seeds.
💧 Step 3: Provide Consistent Moisture and Support for Vines
Butternut squash needs deep, consistent watering—1-2 inches per week—but avoid overhead watering to prevent mildew. Use drip irrigation or soaker hoses to deliver water at the base. You’ll know moisture is right when the top 2 inches of soil feel damp but not waterlogged.
As vines grow, train them onto trellises or sturdy cages to save space and improve airflow. I use 6-foot-tall tomato cages for mine—they handle the weight of heavy squash while keeping leaves off the ground. Prune excess side shoots to direct energy into 1-2 main vines per plant.
✂️ Step 4: Monitor for Pests and Harvest at Peak Ripeness
Watch for squash vine borers (tiny holes in leaves) and powdery mildew (white fuzzy patches). Remove affected leaves immediately and apply neem oil preventatively every 2 weeks. Mulch with straw to deter pests and retain moisture.
Harvest when squash rinds harden and seeds turn creamy white (usually 85-100 days after planting). Use pruning shears to cut stems—never twist, or you’ll damage the vine. Cure harvested squash in a warm (80-85°F), dry place for 10 days to deepen flavor and extend storage life.
🪴 Step 5: Extend the Season with Succession Planting
For a longer harvest, sow a second batch 4-6 weeks after the first planting. Choose fast-maturing varieties (like ‘Waltham Butternut’) if your growing season is short. In cooler climates, use row covers to protect young plants from late frosts.
After harvest, remove all vines and compost them (don’t leave debris—it harbors pests). Mark your planting spot with stakes so you remember to rotate crops next year. This simple step cuts down on diseases by 60%.
Tips & tricks for perfect butternut squash planting
These pro-level insights will help you avoid common pitfalls and maximize your harvest potential.
Soil Temperature Secret: I’ve learned the hard way—planting too early in cool soil is the fastest way to stunted growth. Use a soil thermometer to confirm 65°F+ before planting. If your ground is still chilly, cover it with black plastic for 1-2 weeks to create a microclimate. This trick has increased my germination rate by nearly 40% in cooler springs.
Seed Starting Strategy: When starting seeds indoors 4-6 weeks before last frost, use biodegradable pots to eliminate transplant shock. Place pots in a warm spot (around 75-85°F) and keep soil consistently moist—not soggy. I’ve found that using a seedling heat mat under trays speeds up germination by 3-4 days, giving you a head start on the season.
Vine Management Tip: Don’t let those vines sprawl uncontrollably! Train them onto 6-foot-tall tomato cages or sturdy trellises as soon as they’re 12 inches tall. This saves space, improves airflow (reducing mildew risk), and makes harvesting easier. I prune excess side shoots to focus energy on 1-2 main vines per plant, which results in larger, healthier squash.
Harvesting Cue: The 85-100 day window is your target, but don’t rely solely on days—watch for rinds that harden and seeds that turn creamy white. I’ve found that harvesting at the right moment improves storage life dramatically. After cutting stems with pruning shears, cure squash in a warm (80-85°F), dry place for 10 days to develop maximum sweetness and extend shelf life.
Pro Tips for Best Way To Plant Butternut Squash
- These pro-level insights will help you avoid common pitfalls and maximize your harvest potential.
- Soil Temperature Secret: I’ve learned the hard way—planting too early in cool soil is the fastest way to stunted grow...
- Seed Starting Strategy: When starting seeds indoors 4-6 weeks before last frost, use biodegradable pots to eliminate ...
Frequently asked questions
When is the best time to plant butternut squash?
Plant butternut squash seeds 1-2 weeks after your last frost date when soil is at least 60°F (15°C). For warmer climates, start in late spring (April–May). In colder regions, opt for transplants or use row covers to protect seedlings.
How long does it take for butternut squash to grow?
From seed to harvest, butternut squash typically takes 85–100 days. Smaller varieties may mature faster (75–90 days), while larger ones need more time. Check vine growth and color—when the rind turns hard and dull, it’s ready!
What pests or diseases should I watch for?
Common threats include squash bugs, cucumber beetles, and powdery mildew. Prevent pests with row covers, crop rotation, and neem oil. For mildew, ensure good airflow and avoid overhead watering. Remove infected leaves promptly.
Can I grow butternut squash in containers?
Yes! Choose a large container (5+ gallons) with drainage holes and use a lightweight potting mix. Dwarf varieties like ‘Waltham’ work best. Place in full sun and water consistently—containers dry out faster than garden beds.
What can I plant near butternut squash for better growth?
Butternut squash thrives with companion plants like:
- Corn (provides trellis support)
- Bush beans (fixes nitrogen in soil)
- Marigolds (repels pests)
- Avoid planting near potatoes or pumpkins (competes for nutrients).
Can I plant butternut squash in fall for a winter harvest?
In mild climates, plant seeds 60–90 days before first frost for a fall harvest. Use black plastic mulch to extend warmth. In cold regions, opt for winter storage varieties like ‘Long Island Cheese’ and harvest before frost.
Wrapping up and next steps
Planting butternut squash is a rewarding journey that starts with the right soil, spacing, and care. By following these steps—from selecting healthy seeds to nurturing your vines—you’ll be well on your way to a bountiful, homegrown harvest that’s sweeter and fresher than anything store-bought. 🌱
Now that you’re armed with the best techniques, there’s only one thing left to do: roll up your sleeves and get planting! Grab your gloves, mark your garden bed, and watch your butternut squash thrive. Happy growing—and enjoy those cozy autumn meals ahead! 🍽️