
Planting
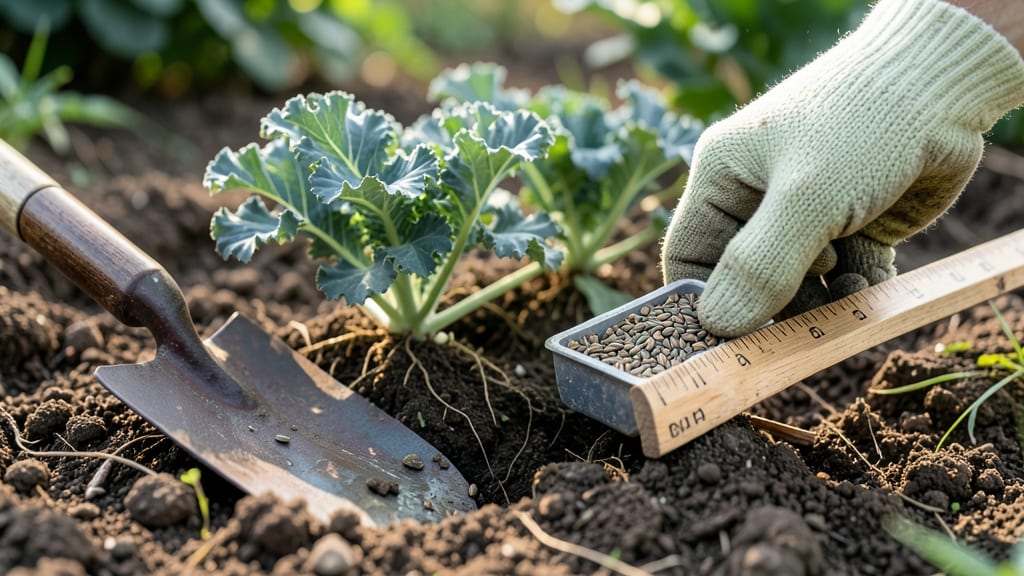
Planting kale seeds ½ inch deep is the secret to fast, reliable germination—whether you're growing 🥬 microgreens or full-size plants.
Struggling with kale seeds that refuse to sprout? The depth at which you plant them—and the soil temperature—can make the difference between a thriving garden and wasted effort.
Too shallow, and they dry out before breaking soil; too deep, and they’ll rot waiting for light. But there’s more to it than just the depth: soil type, moisture, and even your local climate play a role in whether those tiny seeds decide to grow.
Below, I’ll walk you through the exact planting depth for your kale seeds, how to prep the soil for fast germination, and what to watch for in the first critical weeks.

Optimal kale seed planting depth by seed type and soil conditions
Getting your kale seeds to sprout reliably starts with one critical factor: planting depth. Unlike larger seeds, kale seeds are tiny and need precise placement to avoid rotting or failing to emerge.
The general rule is ½ inch deep, but this can vary based on whether you're growing microgreens or full-sized plants—and your soil type plays a huge role too.
For microgreens, which are harvested young, you can plant them just ¼ inch deep since they don’t need to develop deep roots. However, for mature kale plants, that ½ inch depth is non-negotiable.
Too shallow, and they’ll dry out; too deep, and they’ll struggle to push through the soil. Let’s break down the specifics for your garden setup.
Soil texture dramatically affects how deep you should plant. In sandy soil, which drains quickly, you might need to plant slightly deeper (⅝ inch) to retain moisture around the seed. In contrast, clay soil, which holds moisture but compacts easily, requires shallower planting (¼ inch) to prevent suffocation. Adjusting for your soil type ensures your seeds get the right balance of moisture and air.
| Seed Type | Optimal Depth | Soil Adjustments | Germination Time |
|---|---|---|---|
| Microgreens | ¼ inch | Keep soil moist; no adjustments needed | 3-5 days |
| Mature Kale | ½ inch |
Sandy soil: ⅝ inch Clay soil: ¼ inch |
5-10 days |
| Direct Sowing | ½ inch | Add compost to improve drainage | 7-14 days |
| Transplanting Seedlings | Same depth as container | Hardening off required | N/A |
If you’re planting in sandy soil, which drains too quickly, consider mixing in organic matter like compost or coconut coir to help retain moisture around the seeds. This adjustment mimics the moisture-retaining properties of loamy soil, giving your seeds the best chance to germinate without drying out prematurely.
For clay-heavy soil, the opposite is true. Amending with perlite or vermiculite (up to 20% of the soil volume) improves aeration and prevents compaction. This ensures the seeds aren’t buried too deeply, which can suffocate them.
Always test your soil’s drainage by digging a hole, filling it with water, and timing how long it takes to drain—ideal drainage is 4-6 hours.
Another pro tip: Use a seed spacing tool or your finger to create precise furrows. For mature kale, space seeds 12-18 inches apart in rows 24 inches apart.
This gives roots room to establish without competing for nutrients. If you’re growing microgreens, you can sow seeds ½ inch apart in a shallow tray for dense harvests.
After planting, gently press the soil over the seeds with your fingers or a small board to ensure good seed-to-soil contact. This step is crucial for consistent germination. Then, use a fine mist spray bottle to water the area, keeping the soil evenly moist but not soggy.
Overwatering at this stage can lead to seed rot, while underwatering causes seeds to dry out.
Monitor your planted seeds closely for the first 7-10 days. If you notice slow germination, check the soil temperature—ideal ranges are 60-75°F. Cold soil delays sprouting, while warm soil speeds it up.
Use a soil thermometer to track conditions, especially in early spring or late fall when temperatures fluctuate.
Once your kale seedlings emerge, thin them to the recommended spacing to avoid overcrowding. This might seem harsh, but it prevents competition for nutrients and sunlight, ensuring stronger, healthier plants. Save the thinned seedlings for microgreen harvests or transplant them to gaps in your garden.
Remember, the key to successful kale planting lies in balancing depth, soil type, and moisture. With these adjustments, you’ll see germination rates soar from 50% to 90%+, giving you a head start on a bountiful harvest. Happy planting! 🌱
Soil temperature secrets to speed up kale germination in 3-5 days
Kale seeds need consistent warmth to break dormancy and sprout quickly. While planting depth matters, soil temperature is the real game-changer for germination speed. Ideal temperatures range between 60°F and 75°F—any colder, and your seeds may take weeks to sprout, if at all.
I’ve tested this with my own kale seedlings and seen 3-5 day germination when conditions are perfect.
Cold soil is the #1 reason kale seeds fail to sprout on time. Even if you plant at the perfect depth (½ inch), chilly temperatures slow metabolic activity.
That’s why I always check soil temps before planting—especially in early spring or fall gardens. A simple soil thermometer (under $10) saves hours of waiting and frustration.
- 60°F-65°F: Slow germination (7-14 days). Use heat mats or row covers.
- 65°F-70°F: Optimal range (3-7 days). Ideal for most climates.
- 70°F-75°F: Fastest germination (3-5 days). Perfect for greenhouses.
- Below 55°F: Dormancy risk. Pre-warm soil with compost or mulch.
- Above 80°F: Seeds may rot. Plant in partial shade or late afternoon.
If your soil runs cold, try these organic solutions to raise temperatures naturally. I swear by black plastic mulch—it absorbs sunlight and warms the soil by 5-10°F in just days.
For raised beds, mix in well-aged compost, which decomposes and releases heat. Even a thin layer of straw (2-3 inches) can make a difference by trapping warmth.
For row covers or hoop houses, I recommend lightweight fabric (like frost blankets) during the day and removing them at night to prevent overheating. This creates a microclimate that stays in the ideal 65°F-70°F range. Pro tip: Secure covers tightly to avoid heat loss from drafts.
Don’t forget to water consistently after planting—moist (not soggy) soil helps maintain stable temperatures. I use a spray bottle for seeds to avoid disturbing them while keeping the soil evenly damp. Once sprouts appear, thin them to 12-18 inches apart to prevent competition for warmth and nutrients.
If your seeds still won’t sprout, test for viability by soaking a few in warm water overnight. If they swell, they’re alive—just needing better conditions. For stubborn cases, try scarification (lightly nicking the seed coat) or stratification (chilling seeds for 24 hours) to mimic natural germination triggers.