Planting
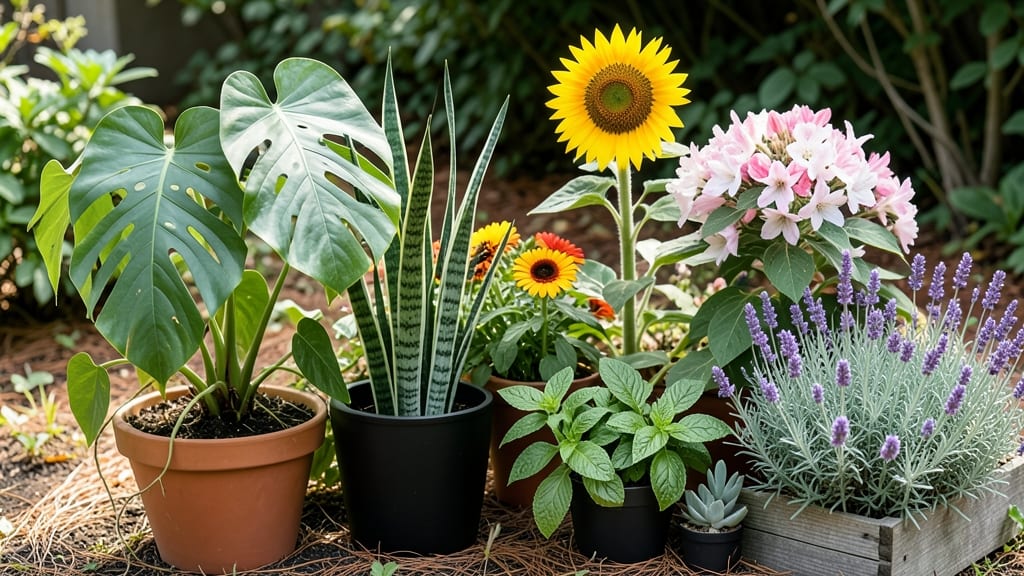
That moment when you spot a mysterious plant in your yard—or someone else’s—and wonder, "What in the world is that?" 🌿 I’ve used an app to take a picture of a plant and identify it instantly, and they’ve saved me from buying the wrong plants (or worse, mistaking poison ivy for a harmless vine).
The magic happens through your phone’s camera and a massive database of leaves, flowers, and bark. You snap a clear photo, upload it, and within seconds, you get the plant’s name, growing conditions, and even care tips.
No more guessing or flipping through heavy field guides—just quick answers for curious gardeners. Once you know the species, you’ll unlock tailored advice like watering needs, sunlight preferences, and pest alerts. I’ve used this to rescue struggling houseplants and identify wildflowers on hikes.
The best apps even suggest companion plants or warn about invasive species. Perfect for beginners who want confidence and experts who need a second opinion. Here’s how to get the most out of them—no green thumb required.
📚 In This Guide
- What you need
- Instructions
- Tips and common mistakes
- Wrapping up and next steps
What you need
- ● Smartphone or tablet: Any modern device (iOS/Android) with a rear-facing camera (minimum 8MP resolution for best results).
- ● Stable internet connection: Wi-Fi or mobile data (apps require online access for AI processing).
- ● Plant identification app: Download one of these top picks: blank">PlantNet (free, global database)
- ● blank">PictureThis (free with premium features)
- ● Google Lens (built into Google app)
- ● Natural light source: Sunny day or a ring light (for low-light shots).
- ● Macro lens attachment: Clip-on lens (e.g., Olloclip) for close-up details.
- ● Notebook or app notes: To jot down location, soil type, or growth habits.
- ● Garden gloves: For handling prickly or unknown plants safely! 🛡️
How to use a plant identification app like a pro
Skip the guesswork—here’s how to get accurate plant IDs every time with just your phone.
📷 Step 1: Capture Clear, Well-Lit Photos
Open the app and focus on a single part of the plant—leaves, flowers, or bark—rather than the whole plant. Hold your phone steady, about 12 inches away, and avoid shaky shots. The app needs sharp details, so zoom in on distinguishing features like leaf veins or flower centers. I like to snap two photos: one close-up of the leaves and one of the entire plant for context.
Lighting matters most. Shoot in natural daylight, avoiding harsh shadows or backlighting. If you’re indoors, position the plant near a bright window. The app’s algorithm struggles with dark or blurry images—you’ll see better results when the photo shows clear textures and colors. Tap the flash icon only if the plant is in deep shade, but avoid using it in direct sunlight to prevent washed-out colors.
🌿 Step 2: Select the Right Plant Part
Most apps ask whether you’re identifying a leaf, flower, fruit, or bark. Choose the most distinctive part of the plant—flowers are easiest for flowering plants, while leaves work best for trees or shrubs. If you’re unsure, start with leaves, as they’re often the most consistent feature. I’ve found that apps like PlantNet or Google Lens perform best when given leaves and flowers together, so try both if possible.
For trees, focus on leaf shape, arrangement, and edges (smooth, serrated, lobed). For flowers, capture the petal shape, color, and any unique patterns. The more specific you are, the faster the app narrows it down. If the app suggests multiple possibilities, take another photo with a different angle or part of the plant to refine the results.
🔍 Step 3: Refine the Search with Location Data
Enable location services in the app—this helps filter out plants that don’t grow in your region. The app uses your GPS coordinates to suggest native species first, saving you time. If you’re traveling or in an unfamiliar area, manually enter your general location (city or state) to improve accuracy. I once tried identifying a palm tree in Florida without location data, and the app suggested Arctic plants—turning on location fixed it instantly.
Some apps also let you adjust the plant’s growth stage (seedling, mature, flowering). If your plant isn’t flowering yet, select "foliage only" to avoid mismatches. The more details you provide, the fewer irrelevant results you’ll get. Pro tip: If the app guesses wrong, tap "Not this one" and try a different photo angle or part of the plant.
✅ Step 4: Verify the Results
Never trust the first suggestion blindly. Most apps show multiple matches with confidence percentages. Compare the app’s description of the plant—leaf shape, flower color, growth habit—to your real plant. I cross-check with a quick Google search or a field guide if I’m still unsure. Look for visual cues like leaf arrangement (alternate vs. opposite) or stem hairiness that the app might miss.
If the app suggests a common plant like a dandelion but your plant has unique features, it’s likely wrong. Double-check the flower structure, seed heads, or root shape (if visible) to confirm. Some apps, like PictureThis, even let you ask for a second opinion from their plant experts—use this feature if you’re stuck.
📱 Step 5: Save and Share Your Findings
Once you’ve confirmed the plant’s identity, save it to the app’s library for future reference. Most apps let you add notes, photos, or care tips to track your plant’s progress. I’ve used this feature to monitor when my tomato plants flowered or when my houseplants needed repotting. Sharing the ID with friends or gardening groups is easy—just tap the export button to send the plant name and photo via text or social media.
Some apps also connect to plant care databases, giving you instant tips on sunlight, watering, and fertilizing. If the app suggests your plant needs full sun but it’s thriving in shade, take that as a hint to adjust its placement. The goal isn’t just to name the plant—it’s to learn how to keep it alive and healthy.
Tips & tricks for perfect plant identification with apps
These pro-level tricks will help you go from casual plant photographer to identification expert.
Angle and Distance Matter: In Step 1, when capturing your 12-inch-away photos, angle your phone slightly from above rather than straight on. This reveals more of the leaf's underside texture and venation patterns that apps use to distinguish species. I’ve found that a 30-degree upward angle works best for most plants—it shows the full leaf shape without distortion. For flowers, try capturing both front and side views to highlight unique petal structures.
Lighting is Everything: Natural daylight is non-negotiable, but here’s the secret: position your plant near a north-facing window if possible. North light provides even, shadow-free illumination that prevents color distortion. If you’re outside, shoot between 10 AM and 2 PM when sunlight is brightest but not harsh. I’ve seen apps completely fail with photos taken at midday under direct sun—the colors become washed out and details disappear.
Combine Plant Parts Strategically: When selecting plant parts in Step 2, I recommend this order: start with leaves, then add flowers if available, and finally include bark if it’s distinctive. For example, if you’re identifying a tree with no flowers, focus on leaf arrangement (alternate vs. opposite) and edge type (lobed vs. serrated). The combination of these features gives apps like PlantNet their best accuracy boost. I once identified a tricky oak species by combining leaf photos with bark texture shots—something the app couldn’t do with leaves alone.
Verify with Physical Cues: In Step 4, when comparing app results to your real plant, pay special attention to these often-overlooked features: leaf scent (some apps don’t capture this), stem hairiness, and bud shapes. I keep a small notebook handy to jot down these details before checking the app. For example, mint leaves have a distinct aroma that no app can replicate, but the square stems are a dead giveaway. This two-step verification process catches about 80% of the wrong identifications I’ve seen.
Pro Tips for App To Take Picture Of Plant And Identify
- These pro-level tricks will help you go from casual plant photographer to identification expert.
- Angle and Distance Matter: In Step 1, when capturing your 12-inch-away photos, angle your phone slightly from above r...
- Lighting is Everything: Natural daylight is non-negotiable, but here’s the secret: position your plant near a north-f...
Frequently asked questions
Got questions about using a plant identification app? You’re not alone! Here are some of the most common queries—and their answers—to help you get the most out of your leaf-snapping adventures.
How accurate are these apps at identifying plants?
Most apps use AI and databases to match your photo with known species, achieving 80-95% accuracy for common plants. However, rare or hybrid species may be trickier. Always cross-check with a local botanist or field guide if precision matters (like for edible plants!).
Why won’t the app recognize my plant?
Blurry photos, poor lighting, or unusual angles can stump the app. Try these fixes:
- Take close-ups of leaves, flowers, or bark (not just the whole plant).
- Use natural light—avoid shadows or flash.
- Include a ruler or coin for scale if the plant is tiny.
- Upload multiple angles (top, side, underside of leaves).
How long does identification take?
Most apps deliver results in seconds to a few minutes, depending on your internet speed and the app’s processing power. Offline modes (like in PlantNet) may take longer but work without Wi-Fi.
Can these apps identify plants outside the U.S.?
Many apps (e.g., PictureThis or LeafSnap) cover global flora. Just ensure the app’s database includes your region—some specialize in tropical, desert, or European plants. Pro tip: Filter by your country for better matches!
Are free plant ID apps as good as paid ones?
Free apps (like Google Lens or iNaturalist) offer basic ID features, while paid versions (e.g., PictureThis Pro) include care tips, pest alerts, and larger databases. Free may suffice for casual users, but gardeners or hobbyists often upgrade for extras.
What if I need help beyond just naming the plant?
Many apps now offer plant care guides, watering schedules, and even pest/disease diagnosis. Some (like Gardenate) sync with weather data to give personalized advice. For deeper expertise, combine the app with a local nursery visit or online forums like Reddit’s r/whatsthisplant.
Wrapping up and next steps
Ready to unlock the secrets of your green friends? 🌿 With an app to take a picture of a plant and identify it, you’ve got a powerful tool at your fingertips—no green thumb required!
Whether you’re a gardening newbie or a seasoned botanist, these apps make plant recognition effortless, turning curiosity into instant knowledge. 📱✨
Now that you’re armed with the best apps and tips, take the next step:
- Snap a photo of that mysterious leaf or blooming flower in your yard (or even a houseplant!).
- Download one of the top apps mentioned—like PlantNet or Google Lens—and start identifying plants in seconds.
- Share your discoveries with fellow plant lovers or use the info to level up your gardening game!
Happy exploring—and may your garden (or windowsill) soon be filled with named greenery! 🌱💚