
Planting
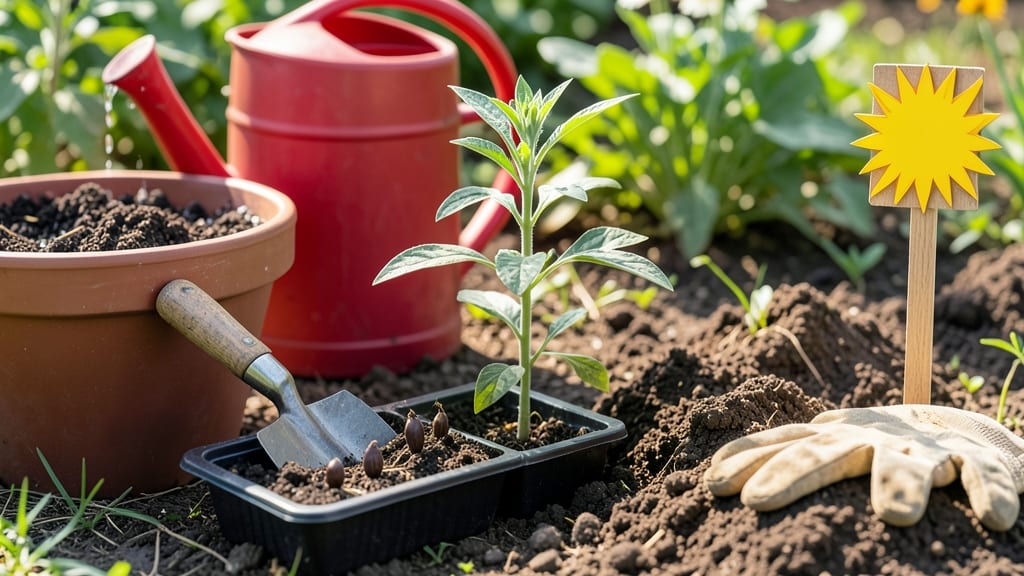
To plant safflower 🌼 for fast germination and drought-resistant blooms, start with seeds sown just ½ inch deep in well-drained soil after your last frost date.
If you’ve ever watched seeds sit in the dirt for weeks without a sign of life, you know how frustrating it can be. But safflowers break that cycle with 7-14 days to sprout—if you nail the timing and conditions.
This hardy annual thrives in full sun and Zone 6a, making it a low-maintenance star for summer gardens. Whether you’re growing them for cut flowers, birdseed, or just bold color, the key is planting them at the right depth, spacing, and moisture level.
Below, I’ll walk you through every step—from soil prep to sunlight needs—to ensure your safflowers pop up quickly and grow into vibrant, resilient plants with minimal fuss.

Optimal safflower direct sowing depths for fast germination & best soil conditions
Getting your safflower seeds to sprout quickly—within 7-14 days—starts with the right direct sowing depth. Unlike delicate annuals, safflower thrives when planted just ½ inch deep, which balances moisture access with protection from drying winds.
Too deep, and germination slows; too shallow, and seeds dry out before sprouting. I’ve found that using a seed starter mix with perlite or vermiculite helps maintain that perfect moisture balance during those critical first days.
Safflower seeds prefer well-draining soil with a neutral pH (6.0-7.5). Sandy loam or loamy soil works best because it prevents waterlogging, which can cause seed rot. If your soil is heavy clay, amending it with compost or coarse sand before planting creates ideal conditions.
I always test my soil first—it’s a small step that saves hours of troubleshooting later!
Now, let’s talk temperature—safflower seeds need soil temperatures between 60-70°F to germinate reliably. Use a soil thermometer to check before planting, especially in cooler climates. If your spring is chilly, consider starting seeds indoors 4-6 weeks before your last frost date, then transplant seedlings outdoors once temperatures stabilize.
This two-step approach gives you a head start on that 7-14 day germination window.
Moisture is another critical factor. After sowing, keep the soil consistently moist but not soggy. I use a spray bottle for the first few days to avoid disturbing seeds, then switch to gentle watering from below as sprouts emerge.
Overwatering is a common mistake—it can drown seeds or cause fungal issues like damping-off disease. A light mist twice daily is often enough until you see those first green shoots!
| Key Factor | Specification | Notes |
|---|---|---|
| Sowing Depth | ½ inch (1.25 cm) | Too deep = slow germination; too shallow = drying out |
| Soil Type | Sandy loam or loamy | Amend clay soil with compost/sand |
| Soil pH | 6.0-7.5 (neutral) | Test soil before planting; adjust with lime or sulfur if needed |
| Soil Temp | 60-70°F (15-21°C) | Use soil thermometer; wait for ideal temps |
| Moisture | Consistently moist | Avoid soggy soil; use spray bottle for first 3 days |
| Germination Time | 7-14 days | Slower in cooler temps; faster in warm, moist soil |
If your safflower seeds aren’t sprouting within 2 weeks, don’t panic—it could be due to old seeds or improper soil conditions. First, check if the seeds are still viable by soaking a few in warm water for 24 hours.
If they swell, they’re likely good; if not, order fresh seeds. Another common issue is compaction—if the soil is too hard, seeds struggle to push through. Loosen the top 1-2 inches of soil before sowing to give roots a fighting chance.
Once sprouts appear, thin seedlings to 12-18 inches apart to prevent overcrowding. This spacing ensures each plant gets enough sunlight and nutrients, which directly impacts bloom size and seed production. I’ve seen gardens where skimpier spacing leads to leggy, weak stems—so don’t rush this step!
Use sharp scissors to cut unwanted seedlings at soil level, rather than pulling, to avoid disturbing roots.
For fastest germination, I recommend planting safflower seeds in late spring (after your last frost date) when soil is warm. In warmer climates (USDA zones 8-10), you can even start in early spring.
If you’re in a cooler zone (3-7), consider a row cover to extend the growing season and protect young seedlings from late frosts. Just remember to remove the cover once temperatures rise above 50°F to prevent overheating.
Finally, let’s talk about post-germination care. Once seedlings have 2-3 true leaves, they’re ready for light fertilization with a balanced 5-10-10 NPK mix. Apply it every 4-6 weeks during the growing season, but skip fertilizing in late summer to encourage seed development.
I’ve found that safflower responds best to organic matter like compost tea—it boosts soil health without the risk of burning tender roots.
With these optimal sowing depths and soil conditions, your safflower seeds should germinate within 7-14 days and grow into robust plants with vibrant blooms ready for cutting or birdseed. The key is patience and attention to detail—once you nail these basics, you’ll enjoy a drought-resistant
Step-by-step safflower planting process with spacing & sunlight requirements
Safflowers (Carthamus tinctorius) are drought-resistant powerhouses that reward gardeners with striking yellow-orange blooms and seeds perfect for bird feeders. To maximize their potential, timing and placement matter—especially since they thrive in full sun and need proper spacing to avoid competition.
The best time to plant safflower seeds is after your last frost date, typically in mid-spring to early summer (April–May in most USDA zones).
These annuals grow 3–5 feet tall and require 12–18 inches of space between plants to prevent overcrowding. Without adequate sunlight (6+ hours daily), safflowers produce fewer blooms and weaker stems. Pair them with companion plants like marigolds to deter pests while enhancing your garden’s visual appeal.
🌱 Step-by-Step Safflower Planting Guide
- 1 Choose the right location: Select a spot with full sun exposure (6+ hours daily) and well-draining soil. Avoid low-lying areas where water pools.
- 2 Prepare the soil: Loosen soil to a depth of 6–8 inches and mix in compost for nutrients. Safflowers prefer slightly alkaline soil (pH 6.0–7.5). Test your soil if unsure.
- 3 Sow seeds at the right depth: Plant seeds ½ inch deep and 12–18 inches apart in rows spaced 18–24 inches apart. Thin seedlings to maintain spacing once they reach 2 inches tall.
- 4 Water gently after planting: Keep soil moist but not soggy until germination (7–14 days). Use a fine mist or drip irrigation to avoid displacing seeds.
- 5 Apply mulch for moisture retention: Spread 2–3 inches of mulch (straw or shredded leaves) around plants to suppress weeds and retain soil moisture. Avoid piling mulch against stems.
- 6 Fertilize lightly during growth: Use a balanced fertilizer (5-10-10) every 4–6 weeks starting when plants reach 6 inches tall. Over-fertilizing can reduce bloom production.
- 7 Monitor for pests and diseases: Watch for aphids or spider mites. Spray plants with neem oil if needed. Remove any yellowing leaves promptly to prevent fungal spread.
Safflowers are drought-tolerant once established, so reduce watering to every 7–10 days once they reach maturity. Their bright blooms attract pollinators and add a pop of color to cut flower arrangements or dried bouquets.
For best results, plant safflowers near sun-loving companions like cosmos or zinnias to create a low-maintenance, high-impact garden display.
With the right spacing and sunlight, your safflowers will reward you with bold, long-lasting blooms and seeds that birds will love. Just remember: patience is key—these plants take about 120 days to reach full bloom, but the wait is worth it for their striking appearance and versatility.